By Glenn Watt
Thanks to craftswoman Farley Andresen for the demonstrating the work 
No fancy tools required to make this awesome headstock for your cigar box guitar
Cigar box is in the name, but the neck is what turns the box into a cigar box guitar.
And the headstock – the part of the neck that anchors your tuning pegs – is a critical component to getting, and keeping, your CBG fully functional.
There are many ways to make a headstock, all with their own advantages. What you’re going to learn here is that making a headstock doesn’t require special tools, jigs, or skills.
In this article you’re going to see how easy it is to use simple tools to make a slick-looking straight headstock.
Tools you’ll need
A straight headstock forms a single plane with the neck. It’s also lower than the fingerboard.This difference in height angles the strings coming off the nut, and keeps them in place while jamming out on your CBG.
Check out how simple it is to make your straight headstock.
Gather together the following things:
- Square
- Small handsaw
- Clamps
- File / rasp
- Wood glue
- Sandpaper (coarse and fine grits)
Now, that’s a short list, right? Well, keep reading to see how a little time and elbow grease will give you a headstock to be proud of.
Map it out
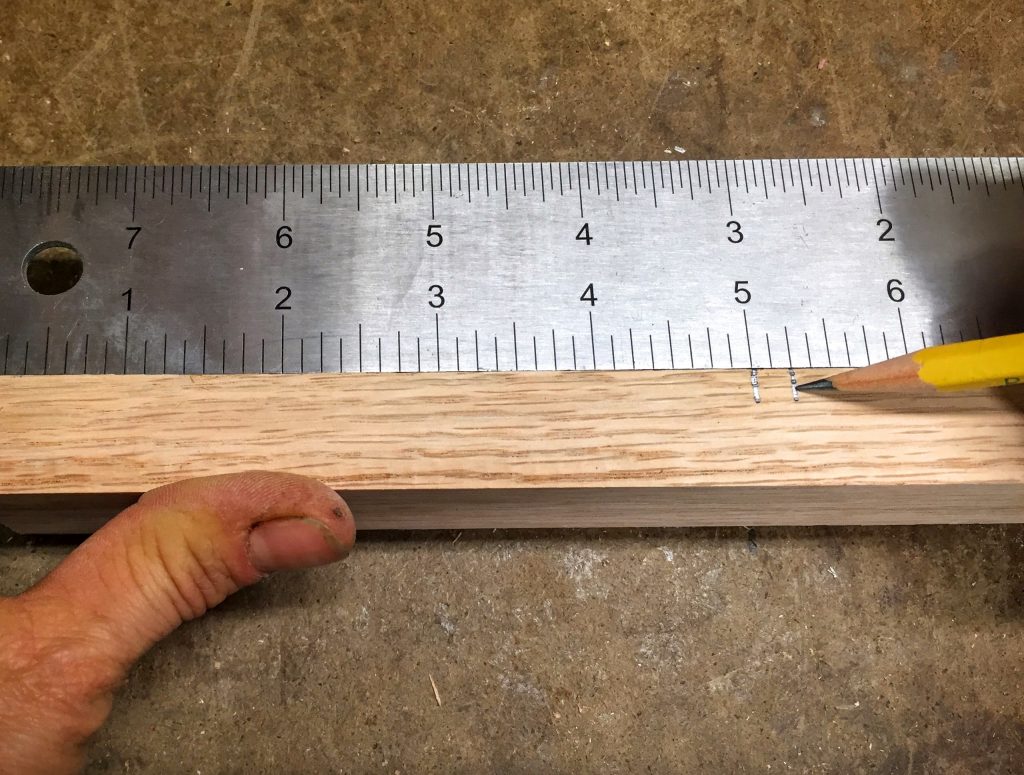
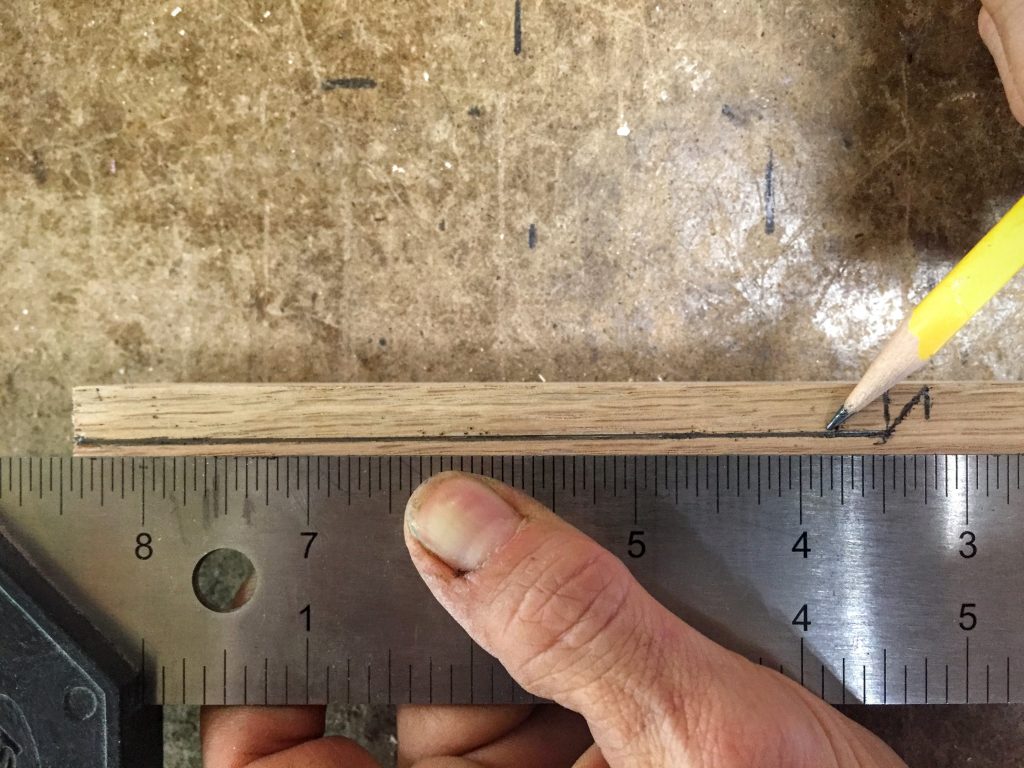
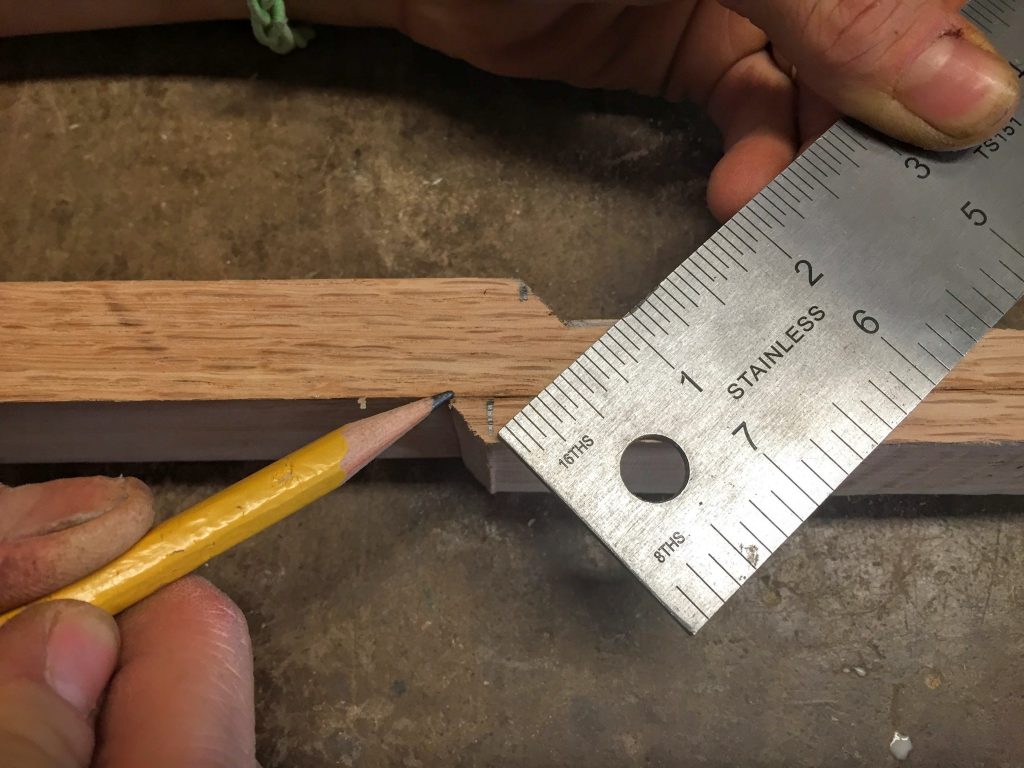
Place the neck on its side. Measure down 5” (127mm) from the top end of the neck. Mark that spot on the side, just below what will be the front of the neck. While you’re at it, measure down to 5 ¼” (133mm) and mark the spot there, too. These marks will make the bottom bevelled edge of your headstock.
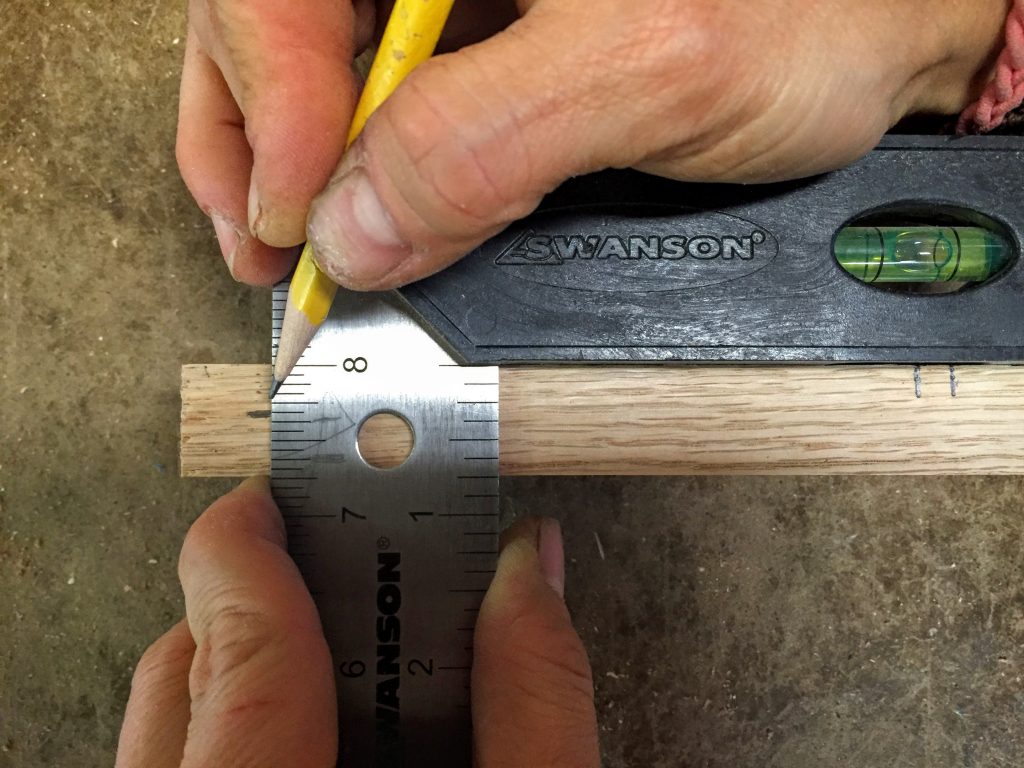
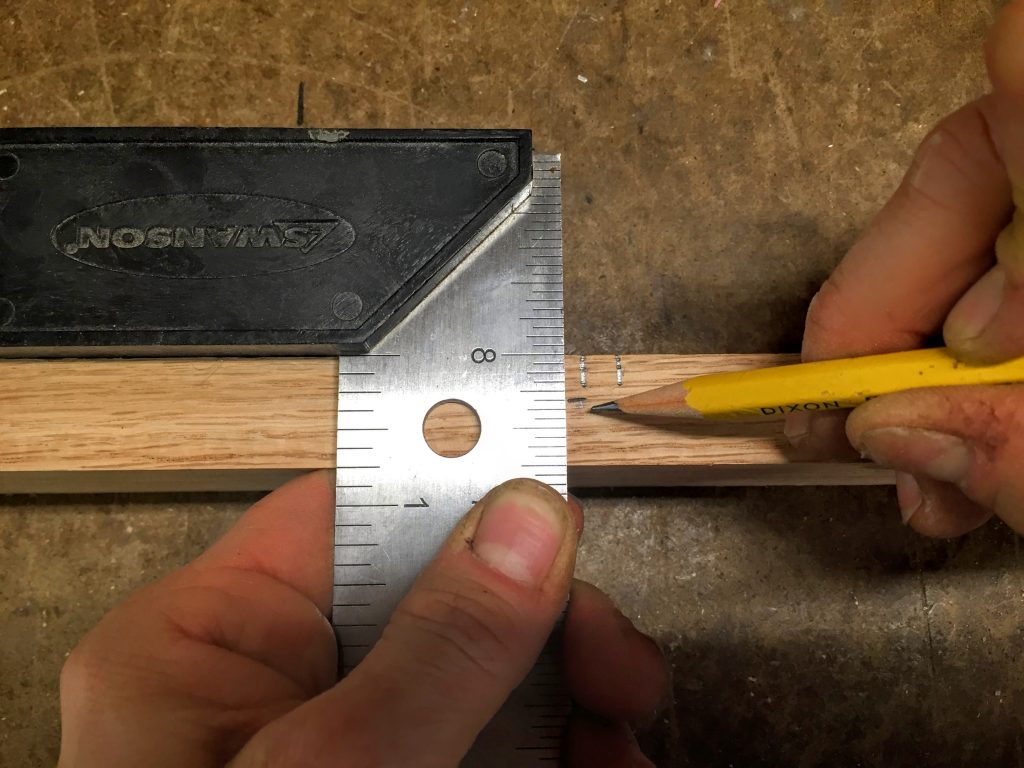
Now, go back to the top of the neck. Measure down 5/16” (8mm) from the front of the neck, and mark that spot on the side. Then, go back to the marks for the bottom of the headstock. At the 5” (127mm) mark, measure down from the front of the neck 5/16” (8mm), and mark the spot.
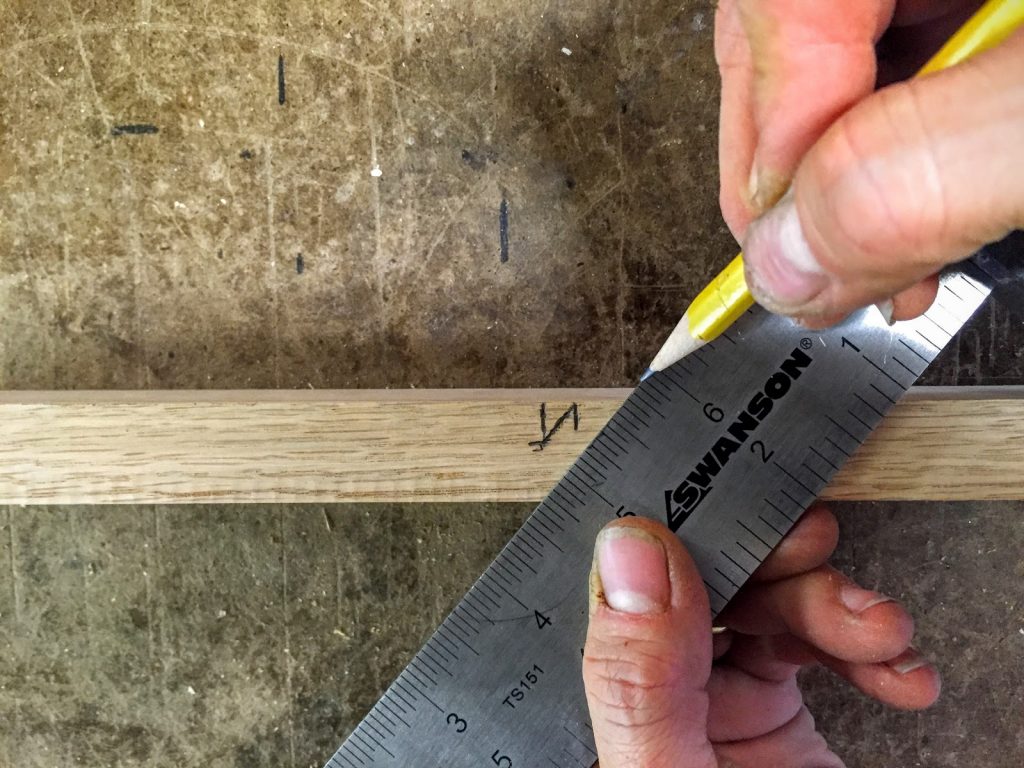
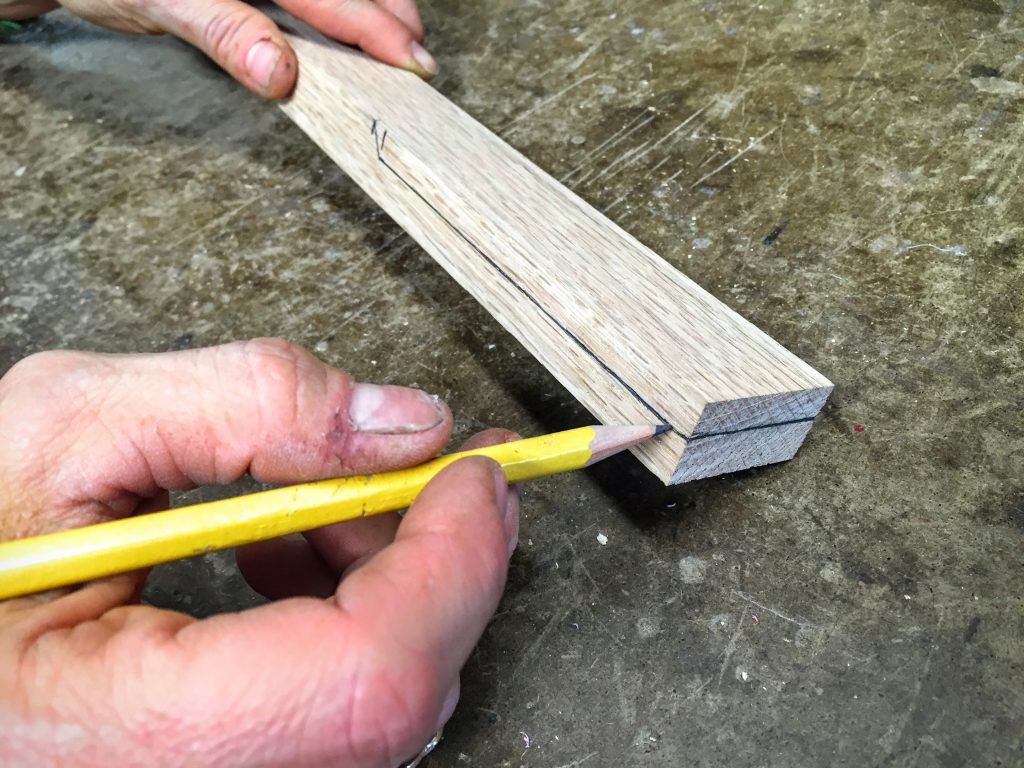
Use your square, or whatever straight edge you have available, to connect the mark at 5 ¼” (133mm) to the spot you’ve just marked. This is going to be that bottom bevelled edge of your straight headstock.
Go ahead and connect the two marks on the side of the neck 5/16” (8mm) down from the front.
Can you see the headstock starting to take shape?
That new line will be the front of the headstock.
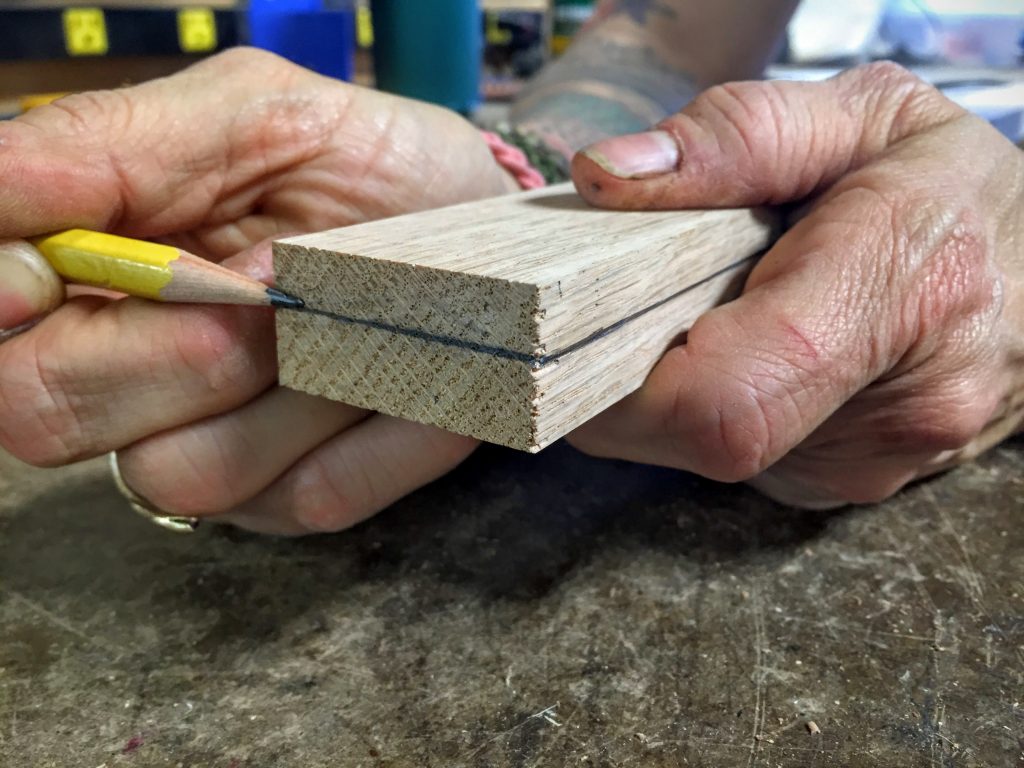
This next bit may seem unnecessary, but it’s critical to getting the front of the headstock to be as level as possible: those lines you’ve drawn on one side of the neck… repeat ‘em on the other side.
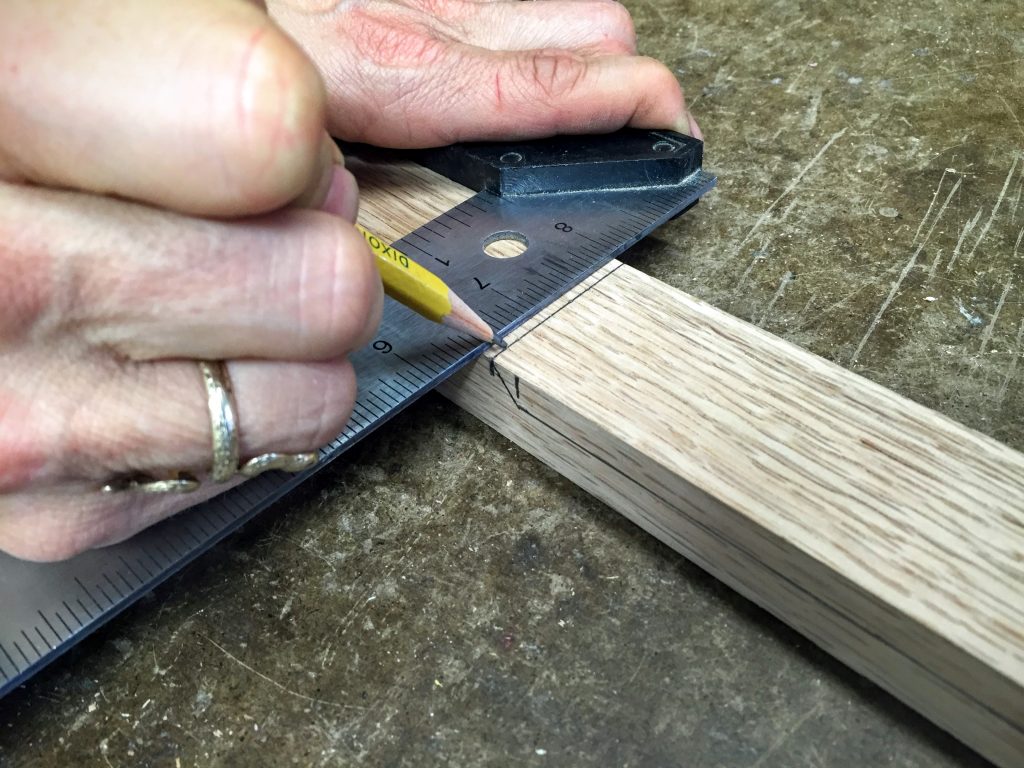
Then, at the top of the neck (soon-to-be headstock), use your pencil to connect both 5/16” (8mm) lines.
And for the last line drawn, on the front of the neck, connect both spots marked 5 ¼” (133mm) down from the top.
Cut it out
For safety’s sake, clamp the neck down to your work surface, nice and tight. You’re about to get down to business.
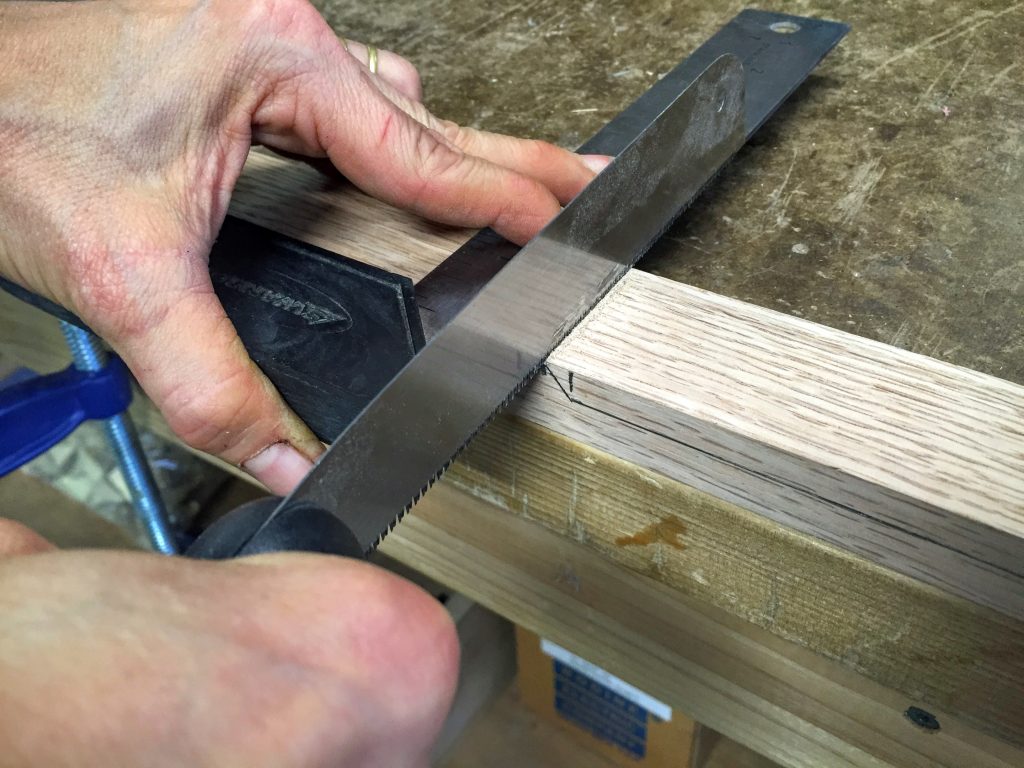
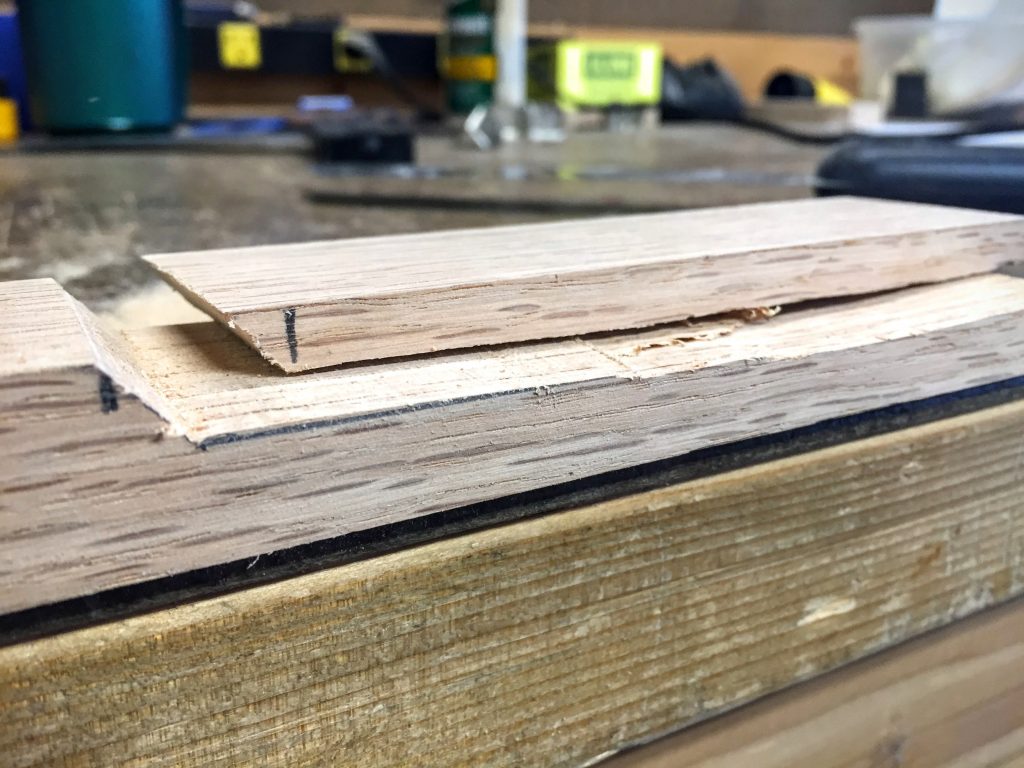
At the line drawn 5 ¼” (133mm) down from the top of the neck, use your small handsaw to make a shallow cut.
Your square may come in handy here. Holding it against the line can help you to keep your saw blade straight.
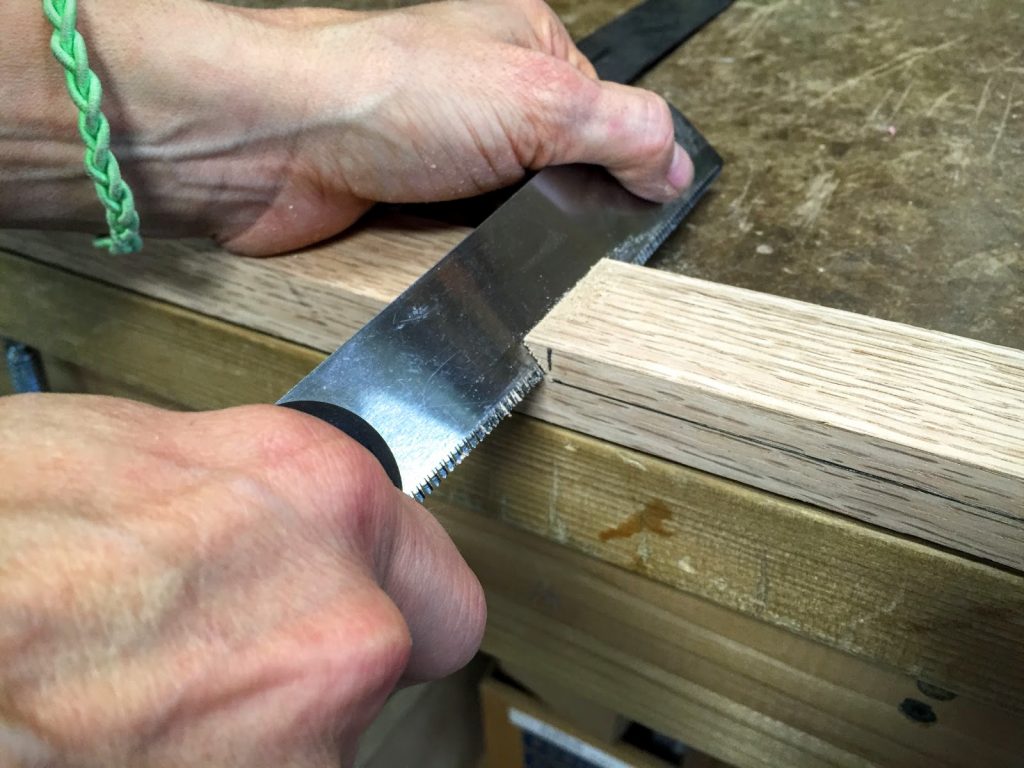
After you’ve made your shallow cut, angle your handsaw to match the angled line on the side of the neck. Cut along that angled line with slow, deliberate strokes.
Use your free hand to hold the top of the saw blade. This will keep the blade steady and straight while you make your cut.
Stop your cut just as you meet the line that is the front of your headstock.
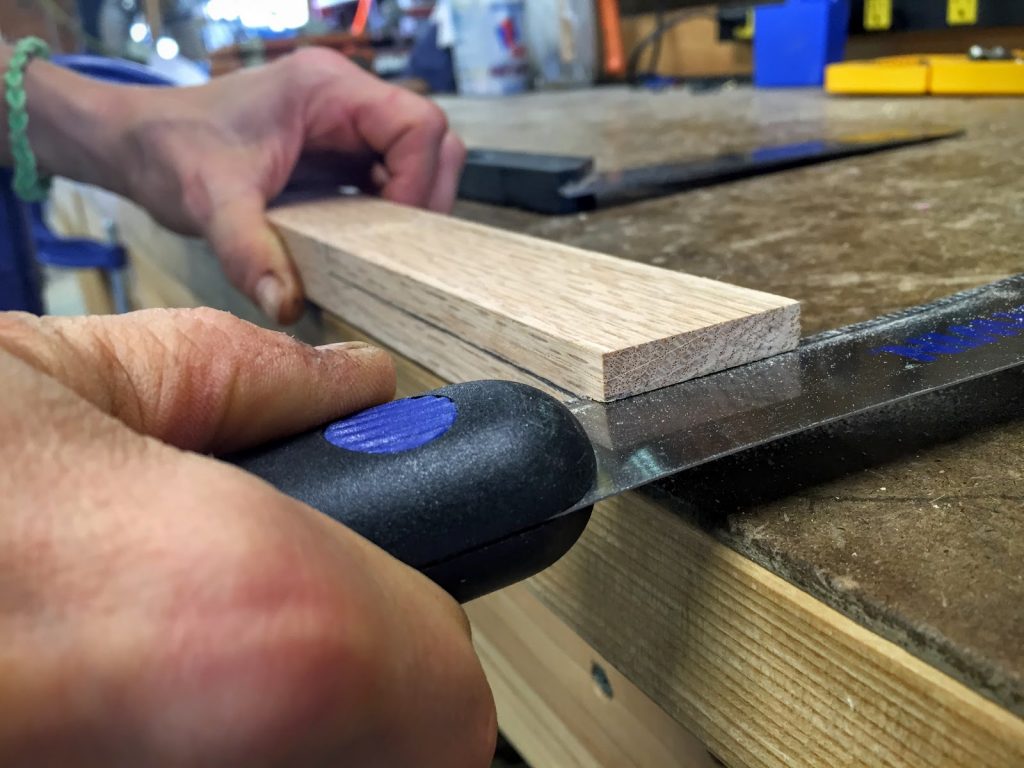
Now, take your saw to the top of the neck. Slowly score the line you’ve drawn at the top.
Here’s where that little bit of effort to map out your headstock on both sides of the neck pays off big.
While keeping an eye on the far-side of the neck, use slow and deliberate strokes to make your cut along the line on the side of the neck.
This is some of the trickiest work you’ll do, but fret naught! You may run the saw off course a wee bit. If necessary, back up and take your time to adjust your saw.
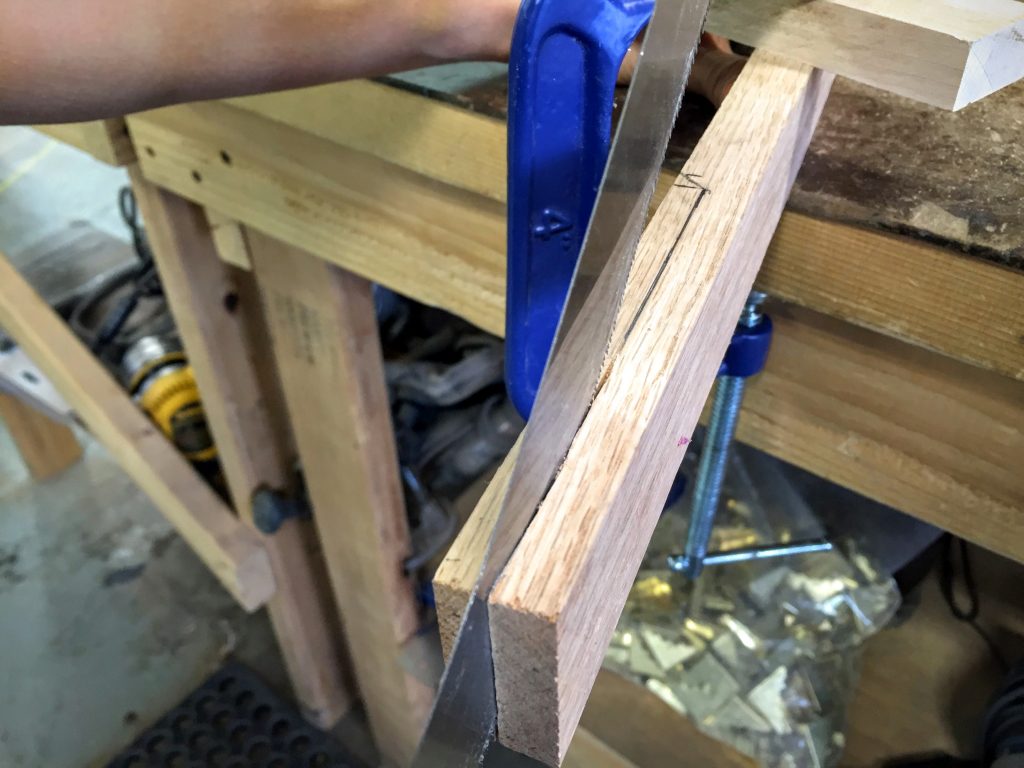
You can also re-position the neck to cut the headstock. Try clamping the neck on its side with the headstock hanging off your work surface. In this way you can use your saw in a vertical position.
Remember, even if the cut comes out rough, you’ll have plenty of time to file and sand it smooth.
After you make that long cut, hold on to the cut-out. It’s time to break out the wood glue.
Glue it together
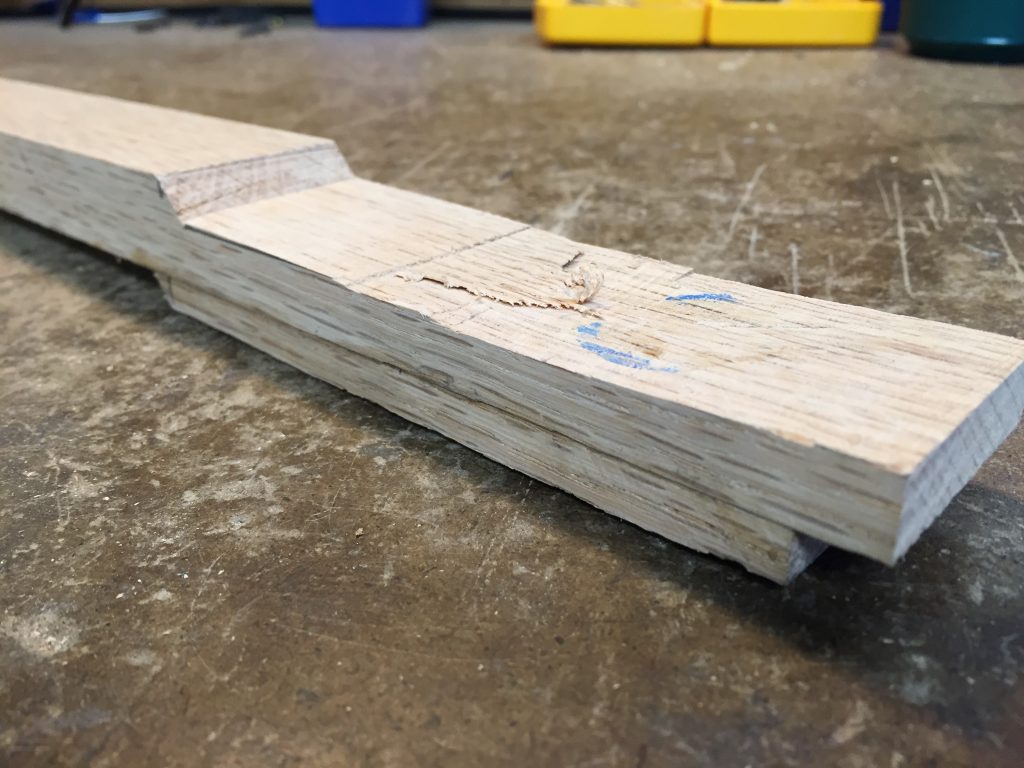
Flip the neck so the back of it is facing up. Also flip the headstock cut-out so that the smooth side is facing up, and the bevelled edge is pointing to the tail of the neck.
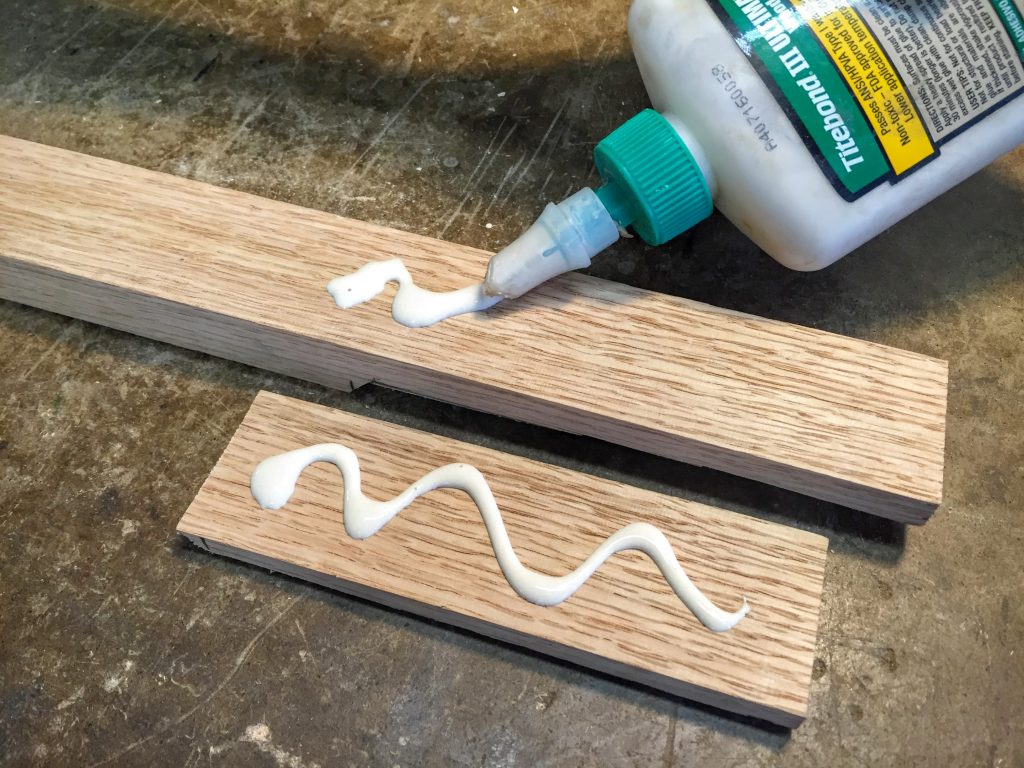
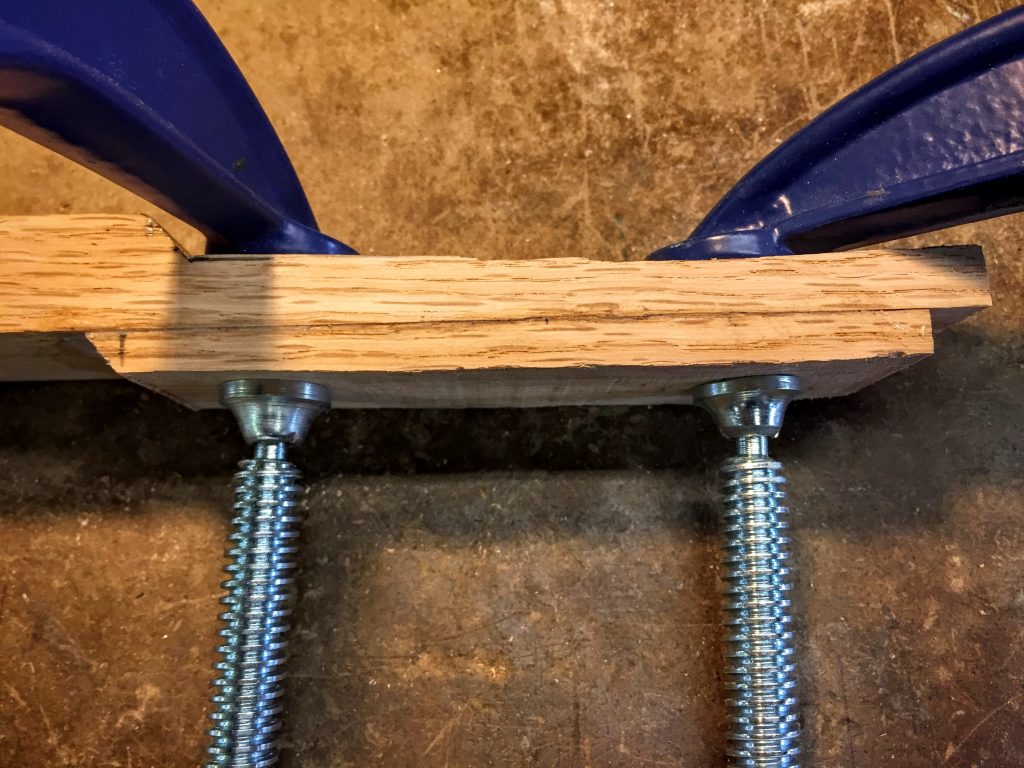
Spread glue on the smooth side of the cut-out and the back of the soon-to-be headstock. Spread the glue around to get an even application.
Now place the cut-out onto the back of the headstock.
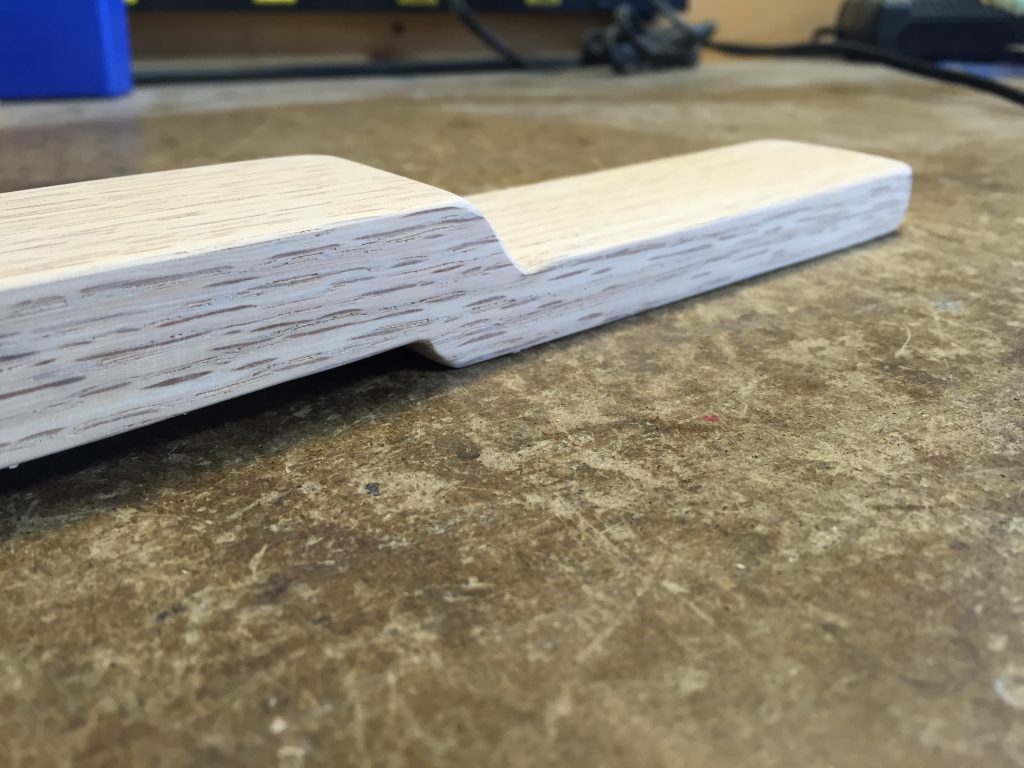
Here’s where you’re going to give your straight headstock a sweet looking bevelled joint.
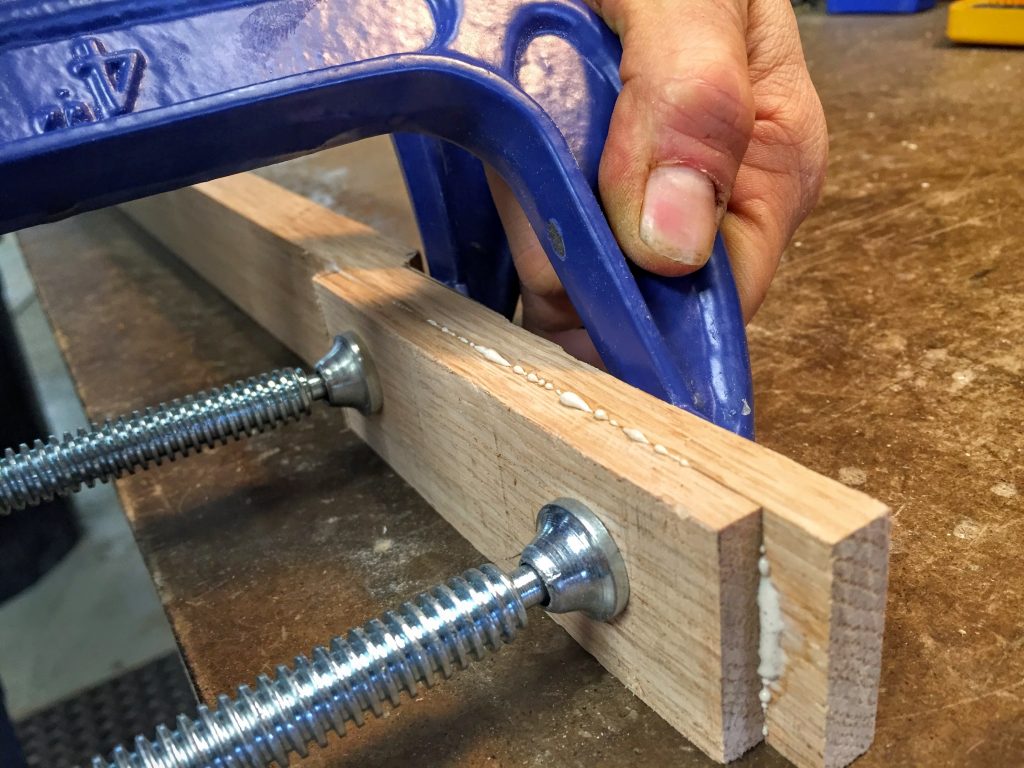
Slide cut-out around until it and the neck make a joint that is as thick as the neck itself. So, if your cigar box guitar neck is ¾” (19mm) thick, position the cut-out to create a ¾” (19mm) joint with the headstock.
Clamp that lil’ devil up nice and tight, wipe off any excess glue that squeezed out, and let it sit for as long as your glue manufacturer recommends.
Have you waited for the glue to dry? Good.
It’s really hard to find the patience to let wood glue dry when all you want to do is finish building your CBG. But the longer you can wait, the stronger that straight headstock joint will be.
Make it smooth
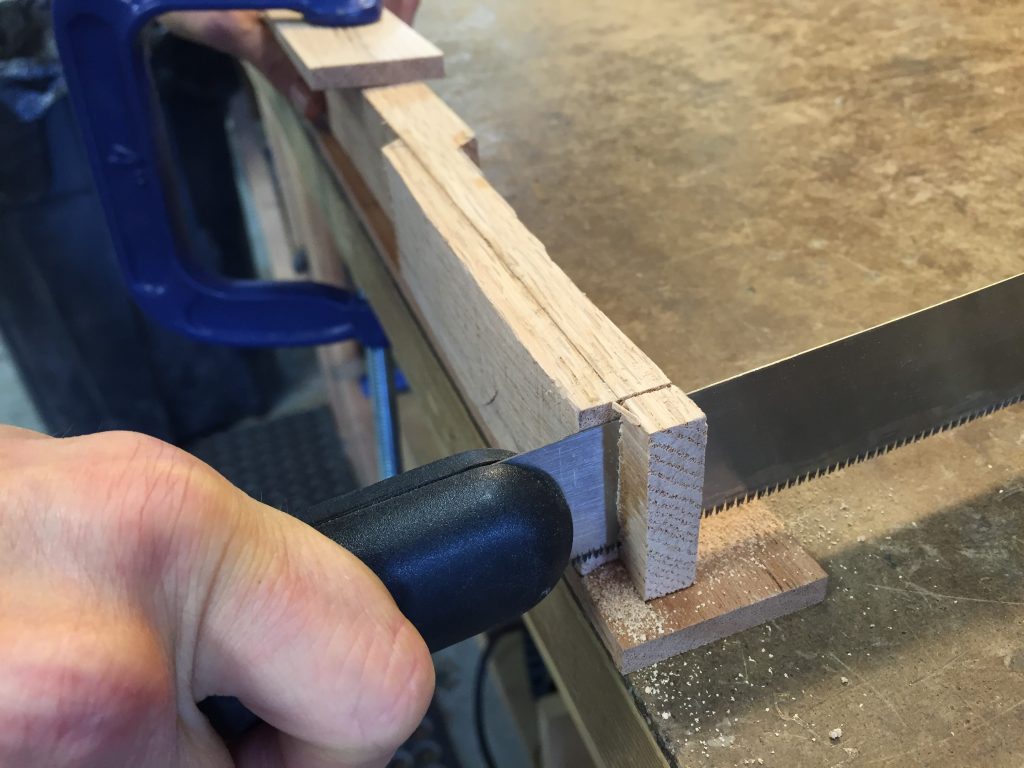
Firmly clamp your neck on its side to your work surface. A piece of scrap wood underneath the neck and headstock is a good idea here.
Use your handsaw to cut off the little overhang left at the top of your headstock.
The scrap wood will prevent you from gouging your bench, or worse, kitchen table. Yikes!
You’re on the home stretch, now!
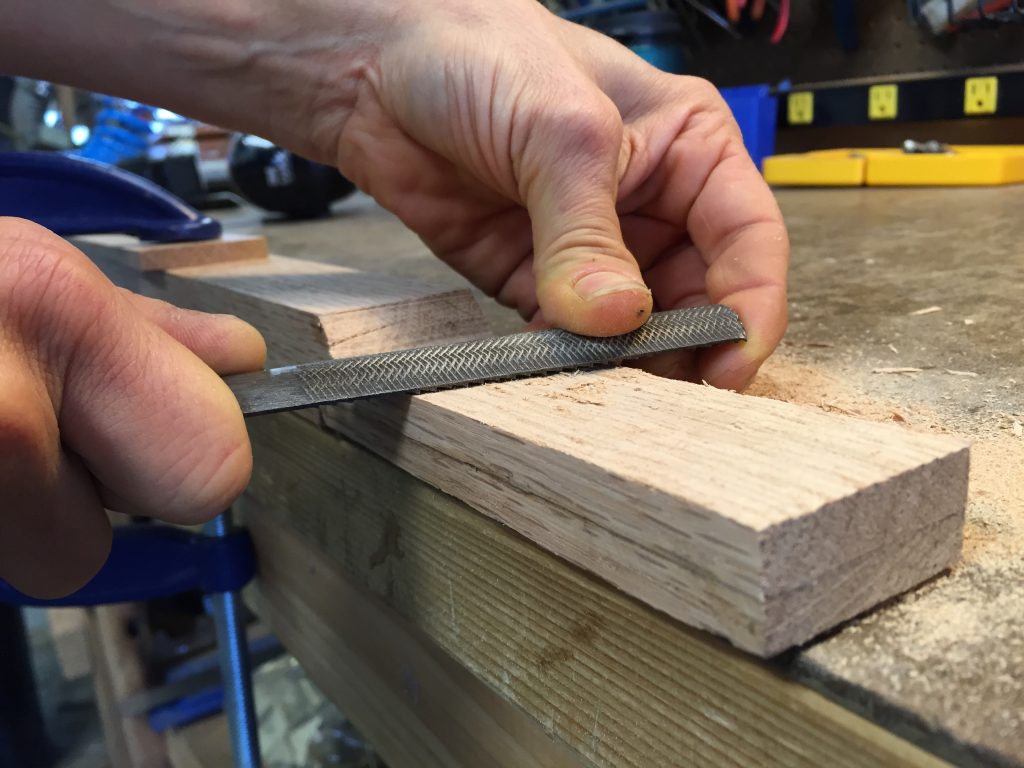
On the front and back of your headstock, use your rasp and file to smooth the roughest areas.
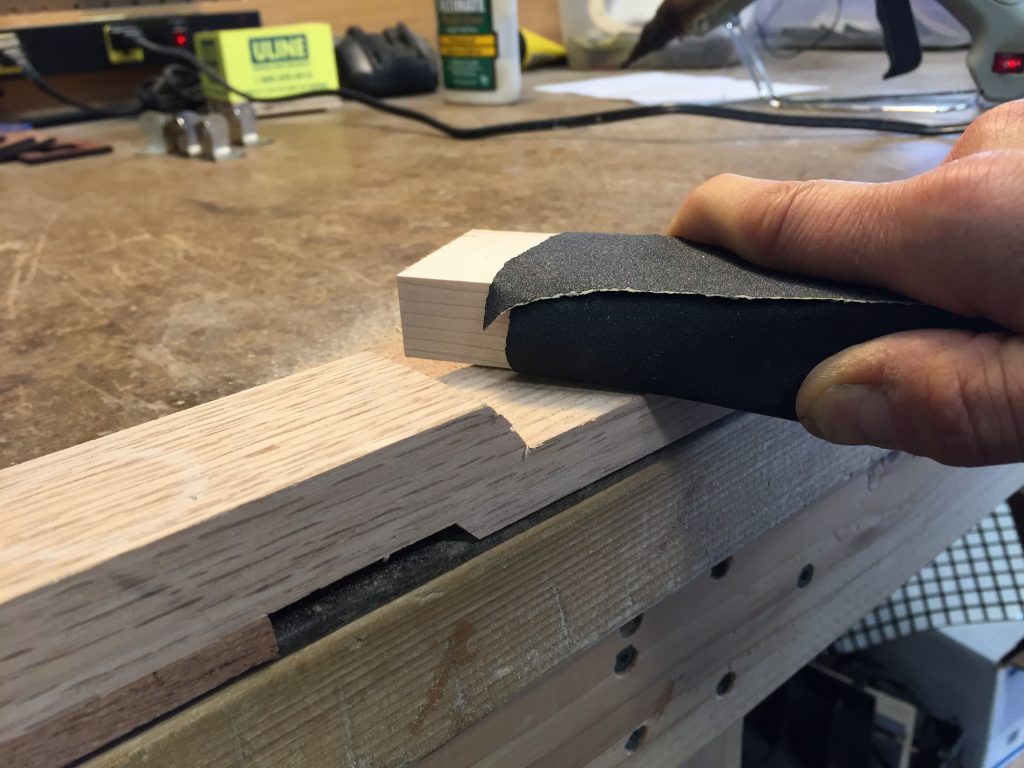
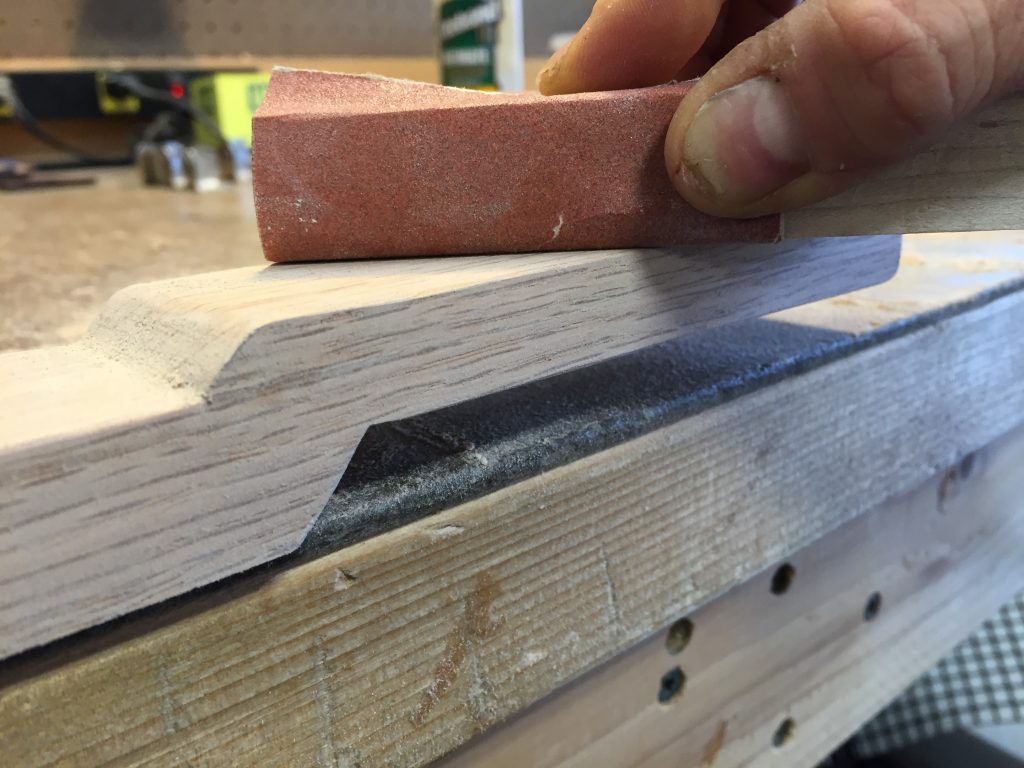
Next, sand the headstock to as smooth as you like. Start with coarse grit and finish up with fine grit sandpaper.
80 to 100 grit is good for the rough stuff, and 220 grit works well to finish. But it’s up to you!
Make your headstock the way you want.
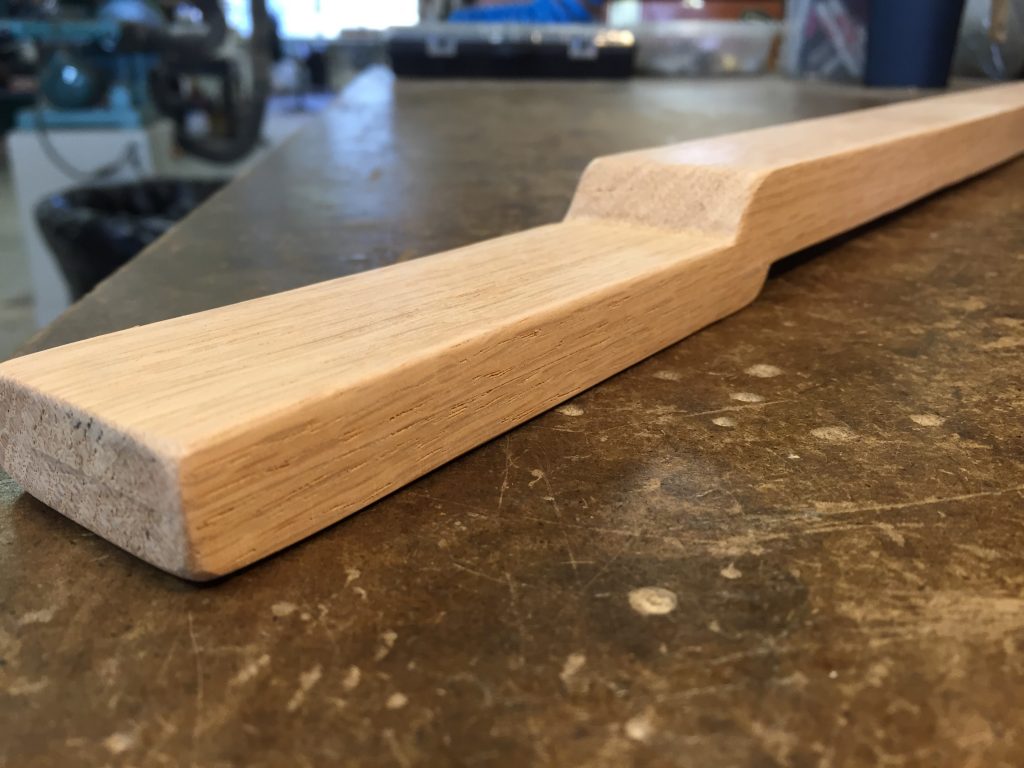
You’ve made a straight headstock
Now step back a minute. Ain’t that thing a beauty?

